
[fs-toc-h2]🔔Read First
Before diving into the following content, we strongly recommend contacting us first, whether you're an existing client or a new user. We will guide you with the best plan and the most suitable installation method tailored to your specific circumstances.
[fs-toc-h2]Getting Started
Before you start your journey in AcuMap, here are a few things you should know to get started on exploring anatomy in virtual reality (VR).
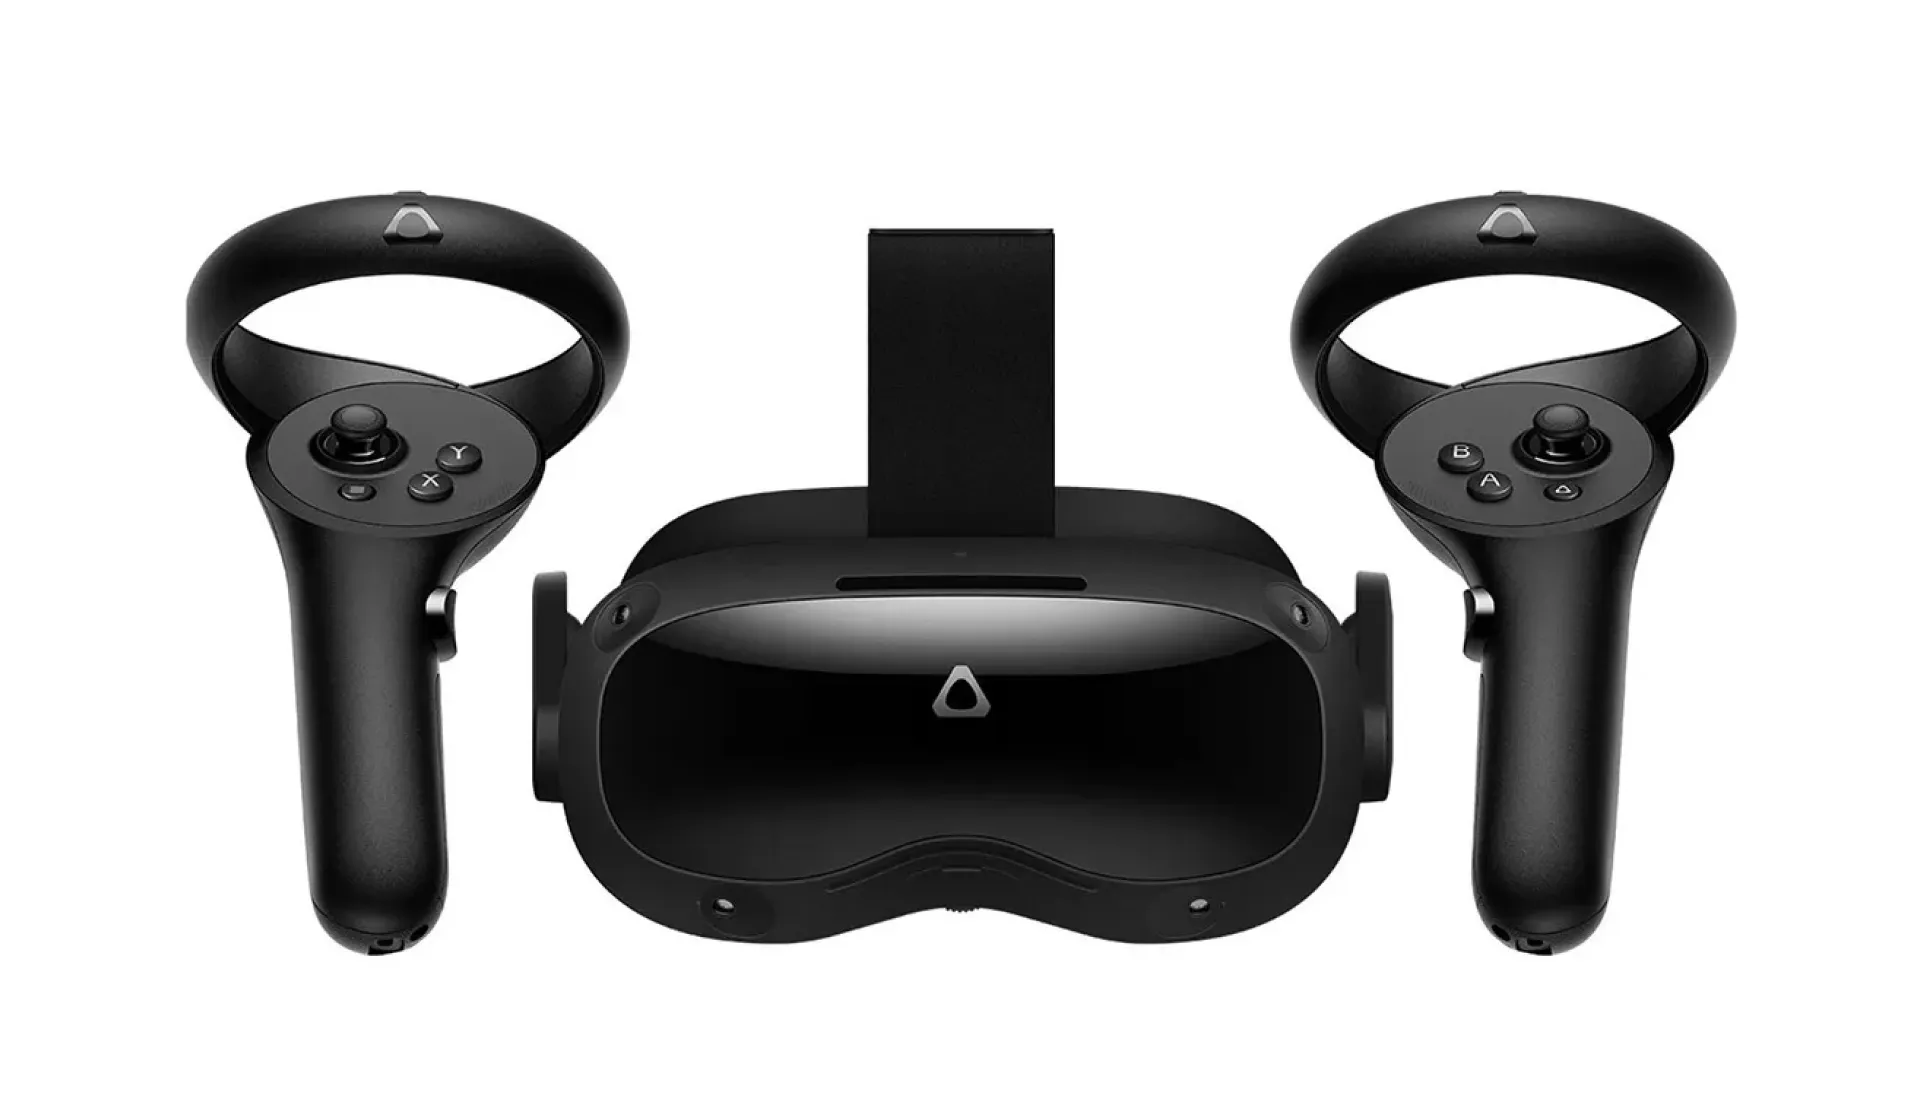
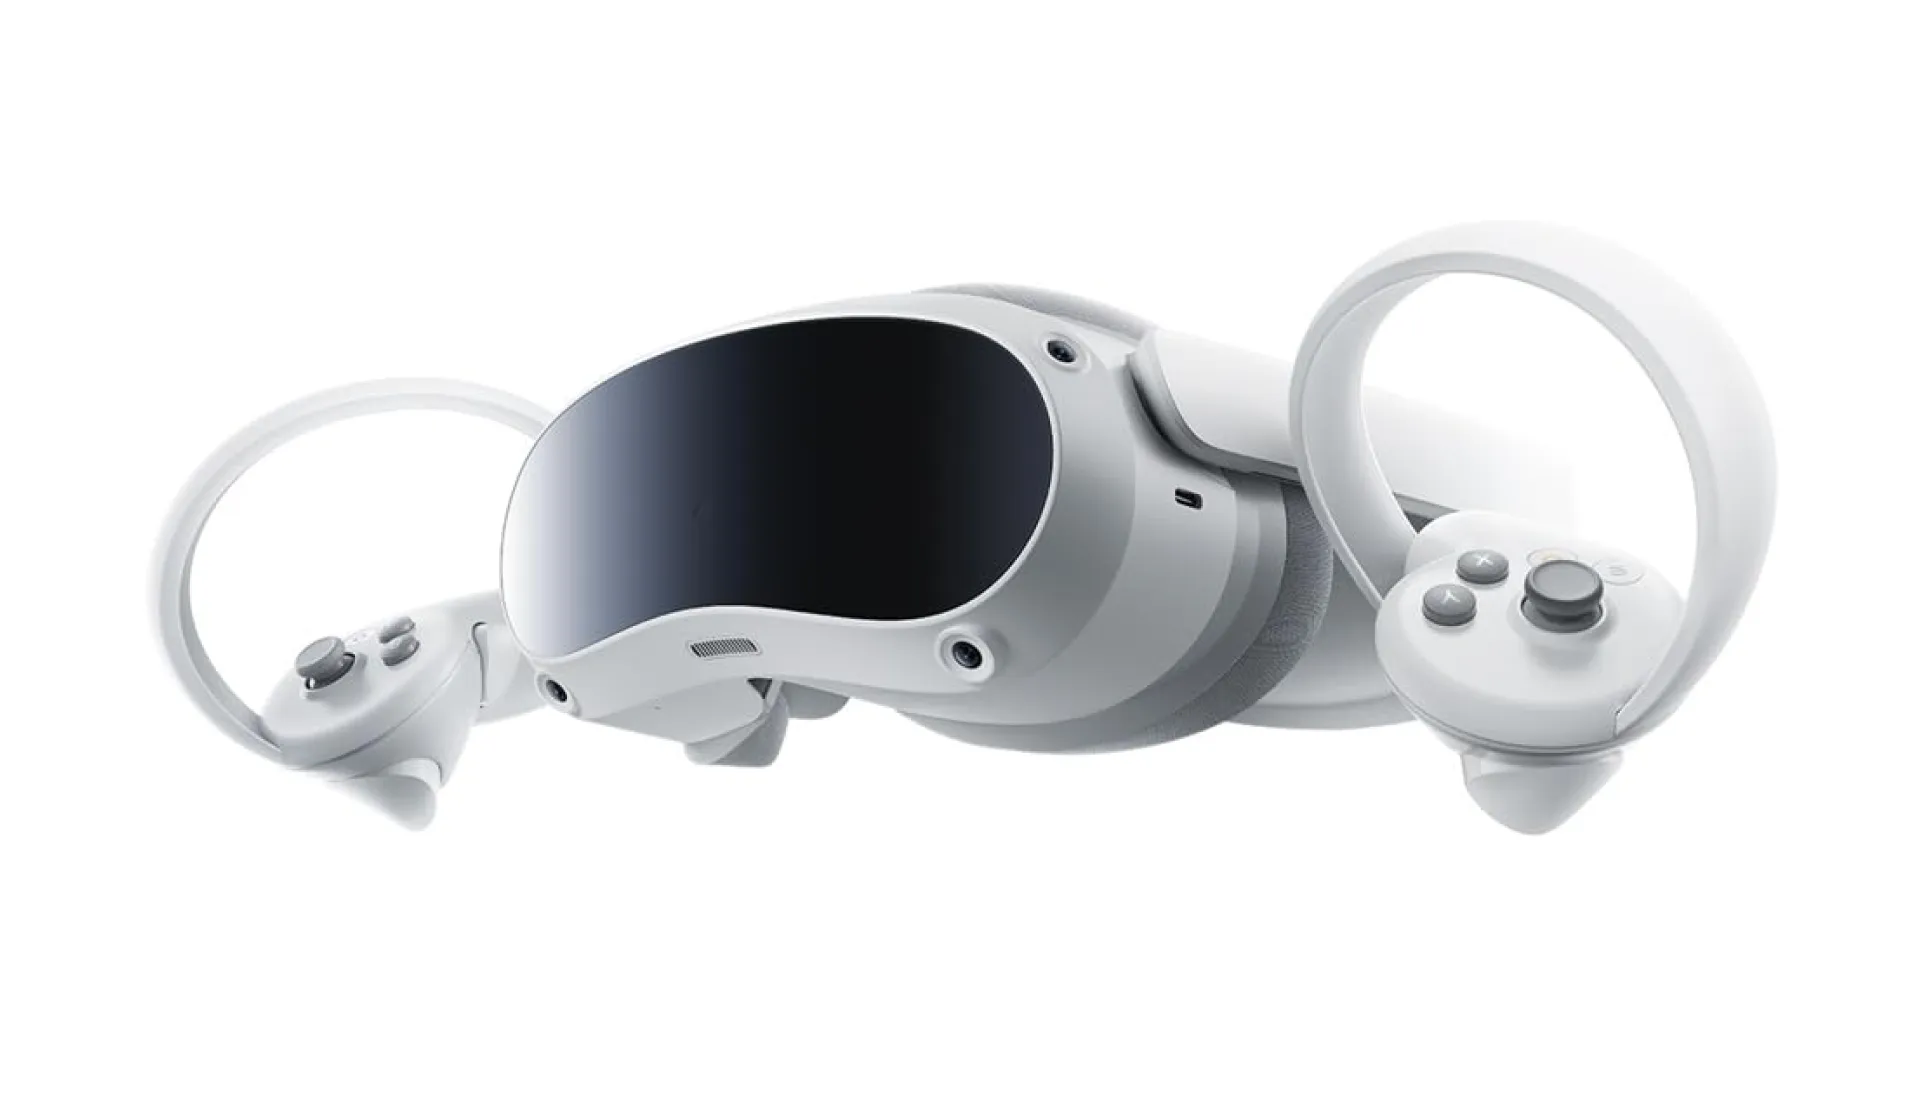
AcuMap currently supports the following standalone VR headsets and PC VR headsets.
[fs-toc-h2]Install & Launch AcuMap - Personal, Student or Instructor
To install and launch AcuMap Personal, Student or Instructor, follow the steps below:
For Meta Quest VR headsets
Method 1: On Website
Step 1: On your PC, find AcuMap on Meta’s Quest Store:
https://www.meta.com/experiences/5326454217425484/
Step 2: Log in to your Meta account, and click on Get button to add it to your Library
Step 3: Put on your VR headset, and open the Universal Menu
Step 4: Select Apps Library (9-dot icon) in the Universal Menu
Step 5: Select “Not Installed” category from the upper-right drop-down, and click Install on the AcuMap icon.
Step 6: Select AcuMap to launch after the installation is finished
📖Note:
You must add AcuMap to your Library in Step 2 in order to install it directly in your Meta Quest headset.
Method 2: Inside VR
Step 1: Put on your Quest headset
Step 2: Click on the Oculus button on your right controller to open the Universal Menu
Step 3: Select Oculus Store app in the Universal Menu
Step 4: Search for AcuMap, and click Install on the AcuMap icon
Step 5: Select AcuMap to launch after the installation is finished
Method 3: Install.Bat Installation (Windows PC only)
🔔Reminder:
You need to activate the developer mode using your mobile app first to continue the process:
Step 1: Download Application on your mobile Apple/ Android
Step 2: Make sure your device is connected to the same Wi-Fi as your headset
Step 3: Start the application, follow the guides below
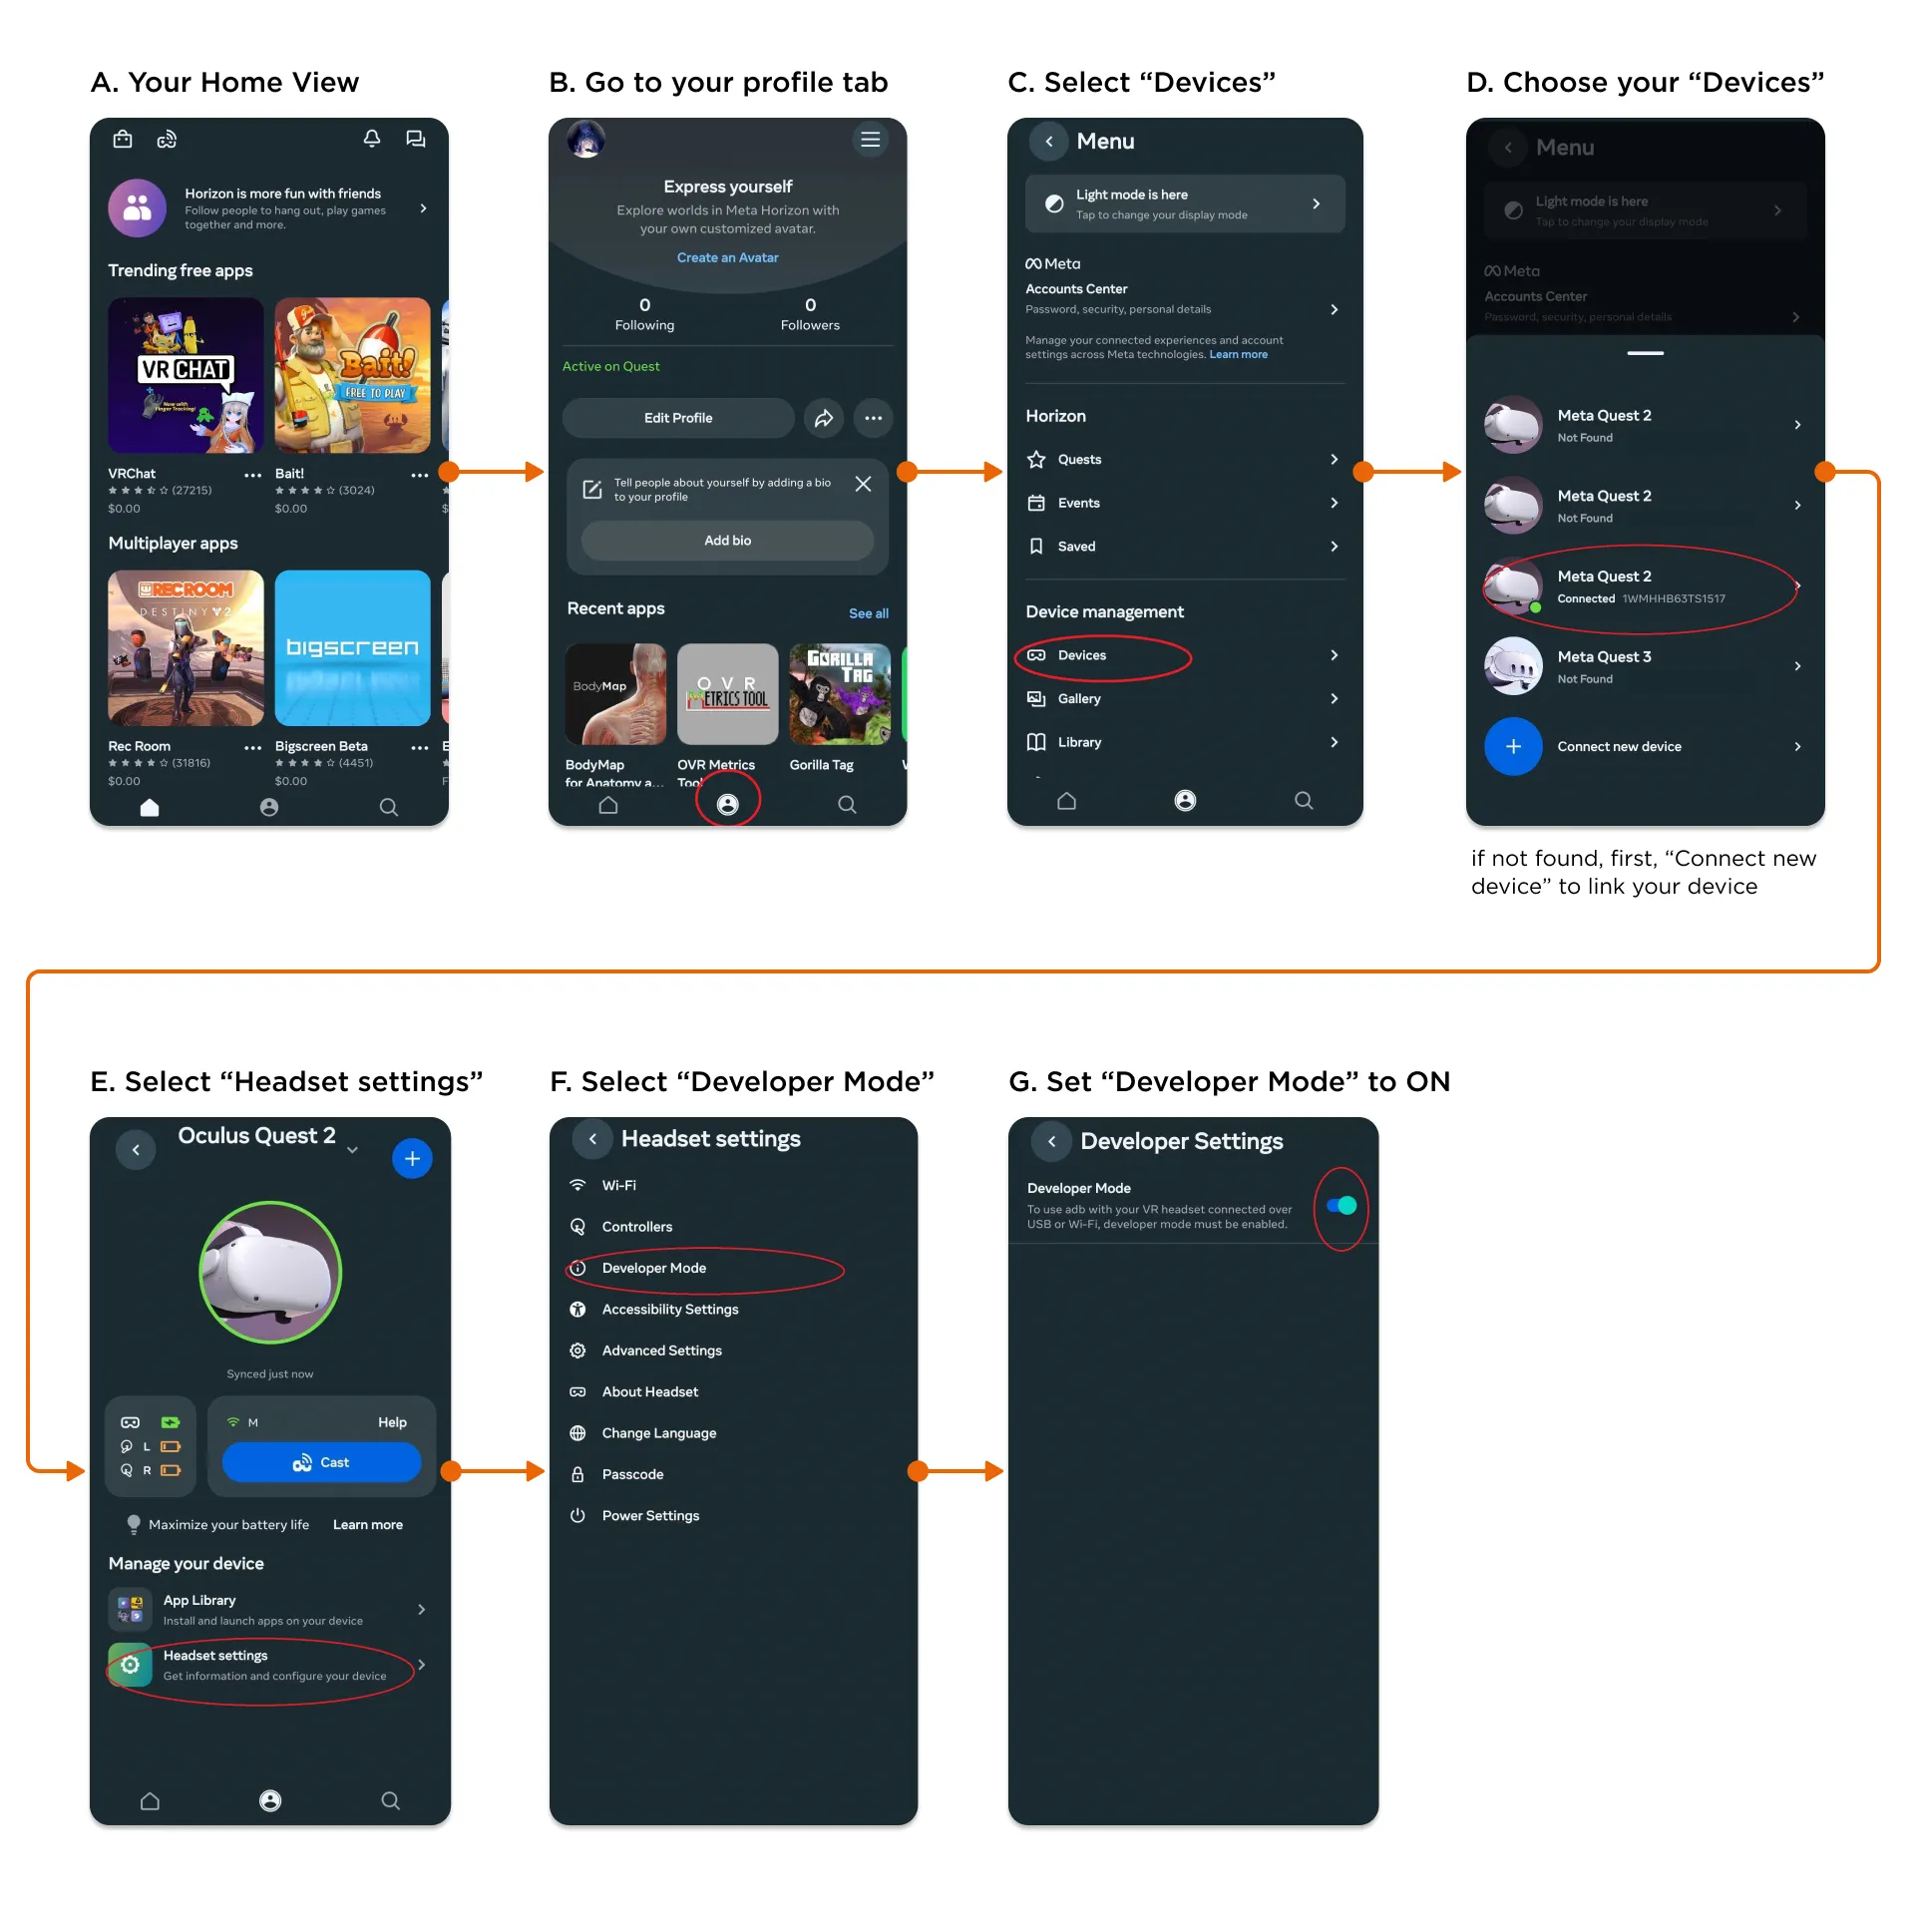
After you activate the developer mode through your mobile app, you can continue to install:
Step 1: In your headset, go to Settings > Advanced, and turn on “Install unknown apps”
Step 2: Install the .zip file to your PC, and unzip it
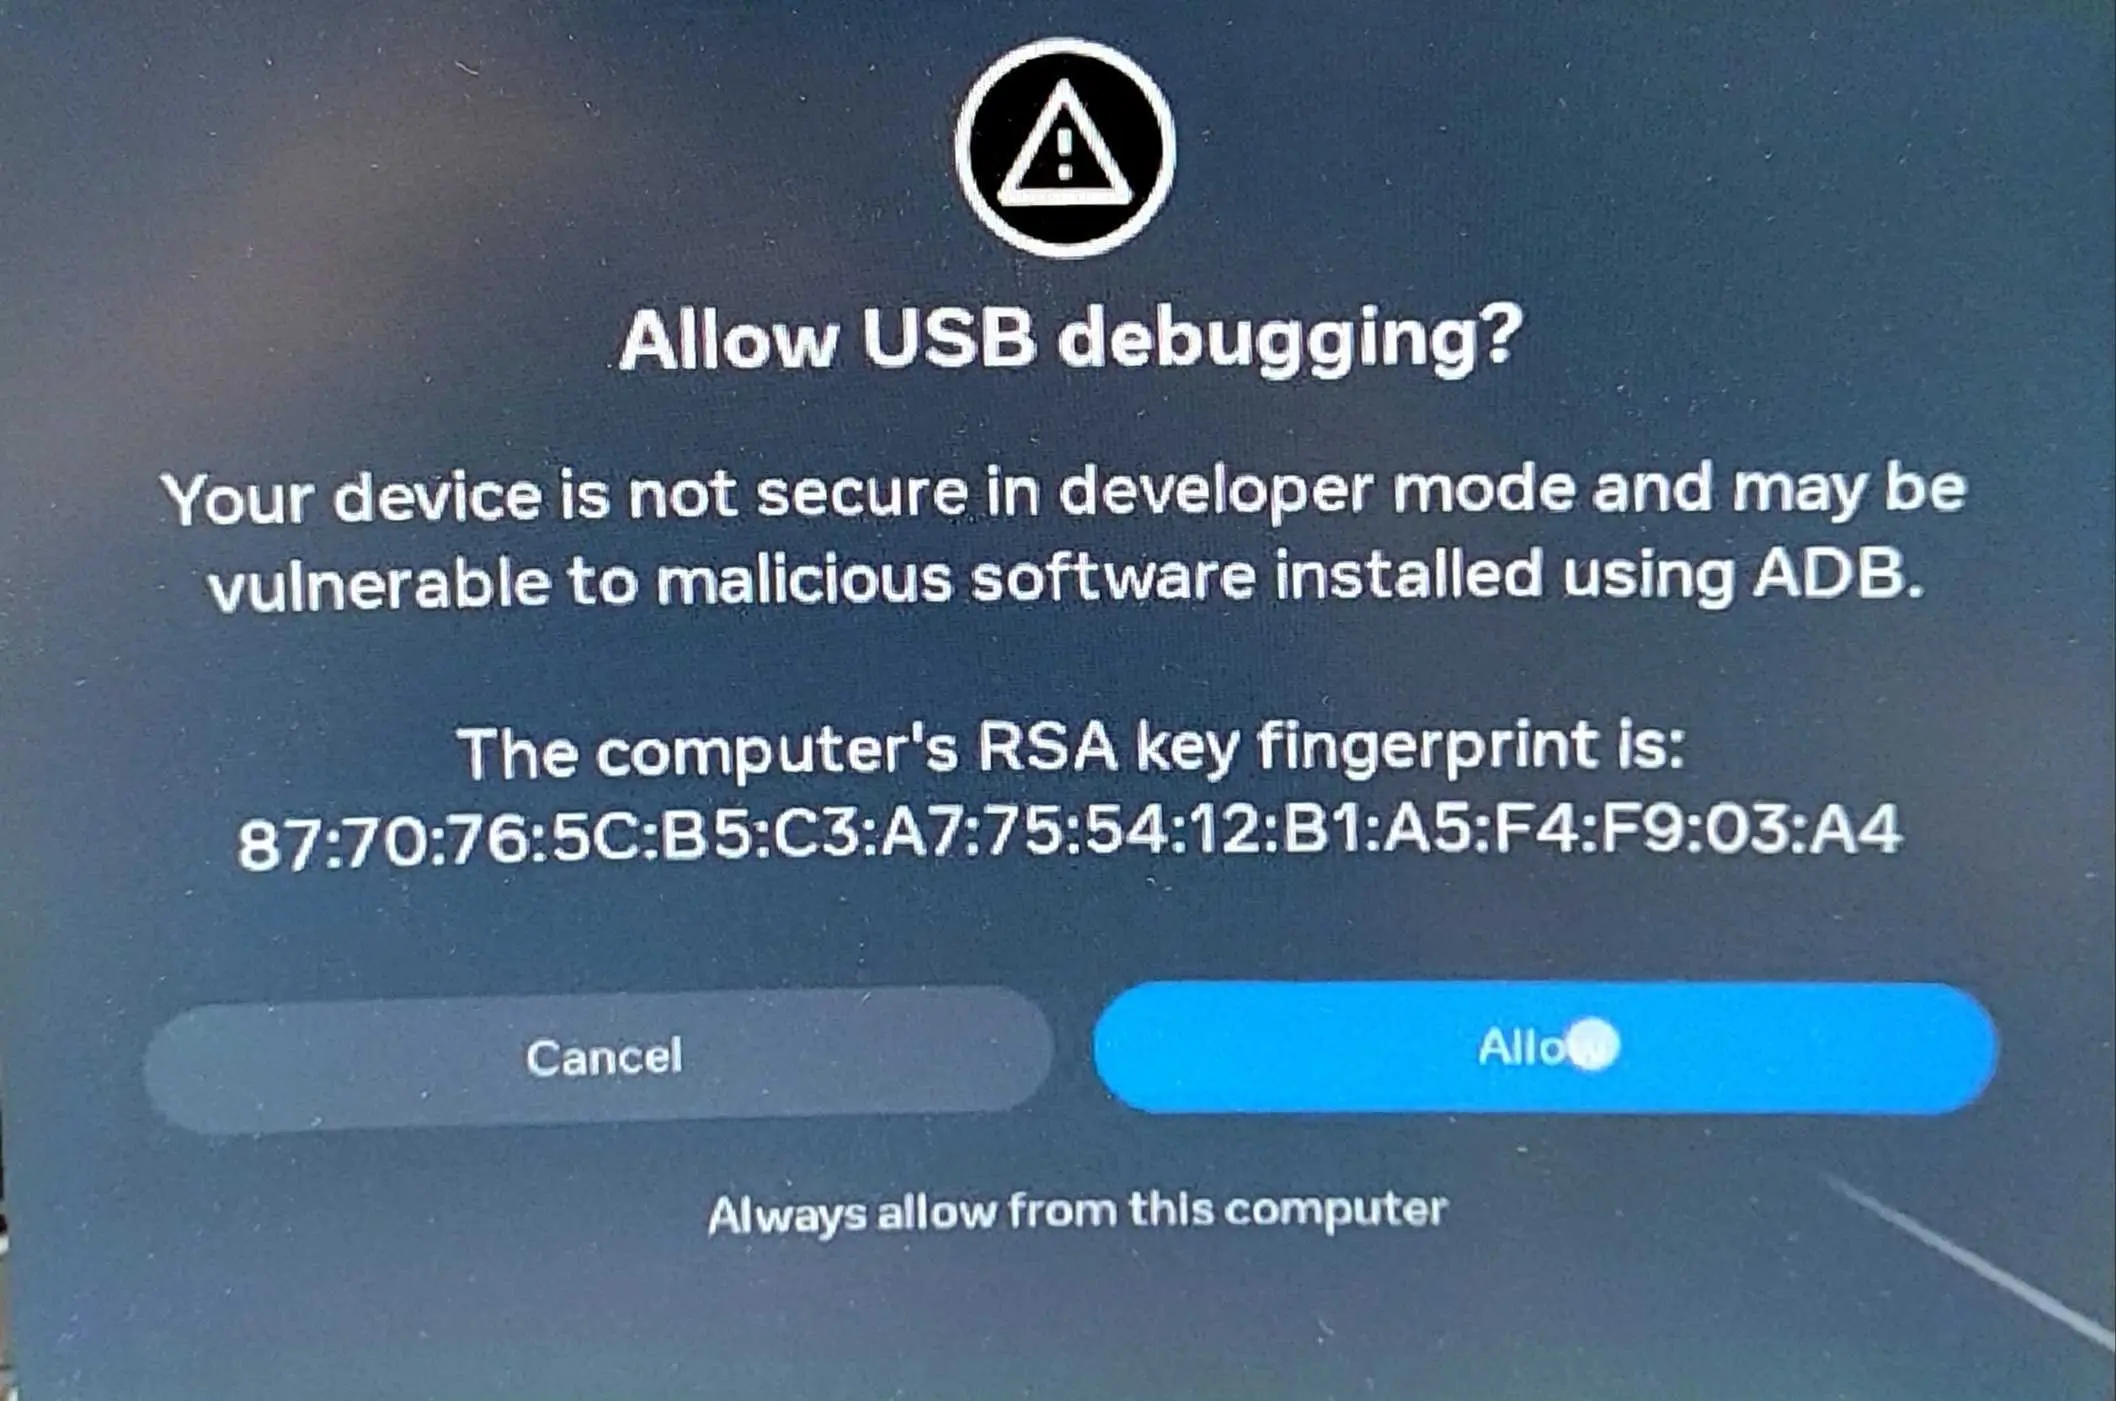
Step 3: Connect your headset to your Windows PC, allow debugging mode in headset
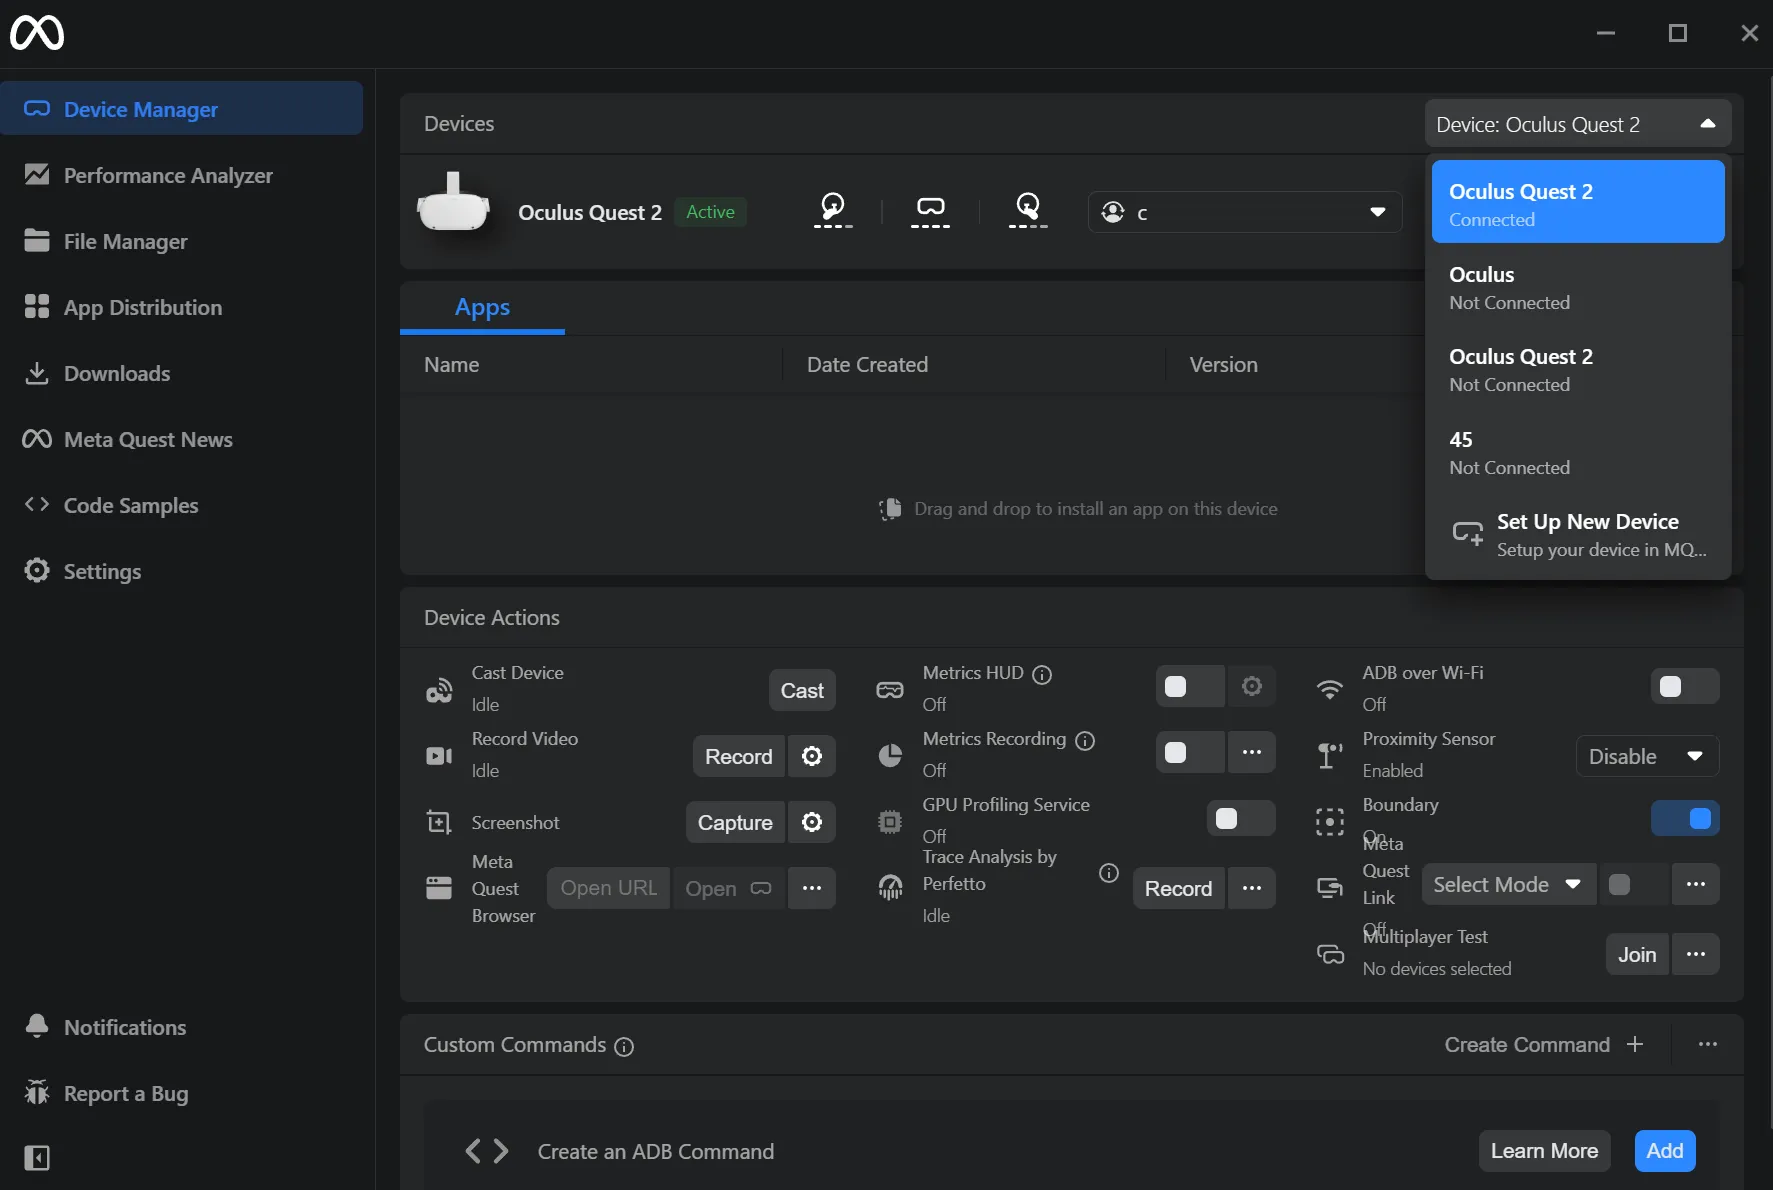
Step 4: Go back to PC, open the unzipped folder, and run the Install.batch file
Step 4: Wait till the .batch file finished running, and put on your headset
Step 5: In your headset, you can now launch the installed AcuMap in Library
📖Note:
You can refer to these guides (video) for details on how to set up your Quest headset. If you have any issue with the headset, please try restart, or restore to factory settings (video).
📖Note:
If you have any issue with the headset, please try 1) restart, and/or 2) restore to factory settings (video).
For VIVE Focus 3
Method 1: APK Installation
Step 1: In your headset, go to Settings > Advanced, and turn on “Install unknown apps”
Step 2: Install the .zip file to your PC, and unzip it
For Windows PC users:
- Connect the headset to your PC using a USB-C cable
- In your headset, select “File transfer” in the Choose USB mode dialogue that pops up
- On your PC, go to This PC > VIVE Focus 3 > Internal Storage > Download, and copy the .apk file to this folder
- In your headset, select Storage > File browser > Download. Select the .apk file to install
Method 2: Install.Bat Installation (Windows PC only)
Step 1: In your headset, go to Settings > Advanced, and turn on “Install unknown apps”
Step 2: Install the .zip file to your PC, and unzip it
Step 3: Connect your headset to your Windows PC, open the unzipped folder, and run the Install.batch file
Step 4: Wait till the .batch file finished running, and put on your headset
Step 5: In your headset, you can now launch the installed AcuMap in Library
For PICO 4
Method 1: APK Installation
Step 1: In your headset, go to Settings > Advanced > System, and scroll down to select “About Device”.
Step 2: Click PUI Version 7 times to enable Developer Mode
Step 3: Go back and click Developer options
Step 4: Scroll down and enable USB debugging
Step 5: Install the .zip file (Global version) to your PC, and unzip it
For Windows PC users:
- Connect the headset to your PC using a USB-C cable
- In your headset, select “File transfer” in the Choose USB mode dialogue that pops up
- On your PC, go to This PC > PICO 4 > Internal Storage > Download, and copy the .apk file to this folder
- In your headset, select Library > File File Manager > APKs. Select the .apk file to install
For Mac PC users:
- Download and install Android File Transfer
- Connect the headset to your PC using a USB-C cable
- In your headset, select “File transfer” in the Choose USB mode dialogue that pops up
- On your PC, select “Download” folder in the Android file transfer window that pops up
- Copy the .apk file to this Download folder
- In your headset, select Library > File File Manager > APKs. Select the .apk file to install
Step 7: In your headset, you can now go to Library > Unknown to launch the installed AcuMap
Method 2: Install.Bat Installation (Windows PC only)
Step 1: In your headset, go to Settings > Advanced > System, and scroll down to select “About Device”.
Step 2: Click PUI Version 7 times to enable Developer Mode
Step 3: Go back and click Developer options
Step 4: Scroll down and enable USB debugging
Step 5: Install the .zip file to your PC, and unzip it
Step 6: Connect your headset to your Windows PC, open the unzipped folder, and run the Install.batch file
Step 7: Wait till the .batch file finished running, and put on your headset
Step 8: In your headset, you can now go to Library > Unknown to launch the installed AcuMap
[fs-toc-h2]Install & Launch AcuMap - Pro
For Meta Quest VR headsets
Step 1: If you have not already done so, tell us the email address you want to use as your AcuMap account, to create the account
Step 2: On your PC, download and install AcuMap Pro installation file
Step 3: Put on your headset, turn it on and connect it to your PC via Quest Link cable
Step 4: Go to “Quick Settings” in the Universal Menu and select “Quest Link” which will launch Oculus App on your PC. In the Oculus App, you may be asked to log in your Meta account or register.
Step 5: On your PC, choose Link (Cable) as the connection method and click Continue
Step 6: Launch the installed AcuMap Pro, and click Start
Step 7: AcuMap Pro will start streaming in your headset
For VIVE Focus 3
Step 1: If you have not already done so, tell us the email address you want to use as your AcuMap account, to create the account
Step 2: On your PC, download and install AcuMap Pro installation file
Step 3: Put on your headset, turn it on and connect it to your PC via a USB-C cable
Step 4: Make sure your headset and PC are connected to the same network
Step 5: On your PC, download and install Steam, SteamVR and VIVE Business Streaming
Step 6: Open the VIVE Business Streaming app
Step 7: Launch AcuMap Pro, and and click Start
Step 8: In your headset, go to Library, launch VIVE Business Streaming, and select VBS server
Step 9: AcuMap Pro will start streaming in your headset
💡Tip:
You can check out the guide and video for more details.
For PICO 4
Step 1: If you have not already done so, tell us the email address you want to use as your AcuMap account, to create the account
Step 2: On your PC, download and install AcuMap Pro installation file
Step 3: Put on your headset, turn it on, and connect it to your PC via a USB-C cable
Step 4: Make sure your headset and PC are connected to the same network
Step 5: On your PC, download and install Steam, SteamVR and Pico Connect
Step 6: Open the "PICO Connect" app, and choose USB for Connection Mode
Step 7: In your headset, go to Library, select the "PICO Connect" app and the Connect button next to your PC's name on the right
Step 8: On your PC, launchAcuMap Pro, and click Start
Step 9: AcuMap Pro will start streaming in your headset.
💡Tip:
You can check out the website for more details.
[fs-toc-h2]Try AcuMap Personal with Free Trial
You need a AcuMap account to try AcuMap Personal for a 7-day free trial. However, if you are using a Meta Quest headset, as a free-trial user, there is no need to create a AcuMap account.
For Meta Quest VR headsets
If you’re logging into AcuMap for the first time:
Step 1: Put on your headset, and open the Universal Menu
Step 2: Select Apps Library (9-dot icon) in the Universal Menu
Step 3: Select AcuMap from your list of apps to launch
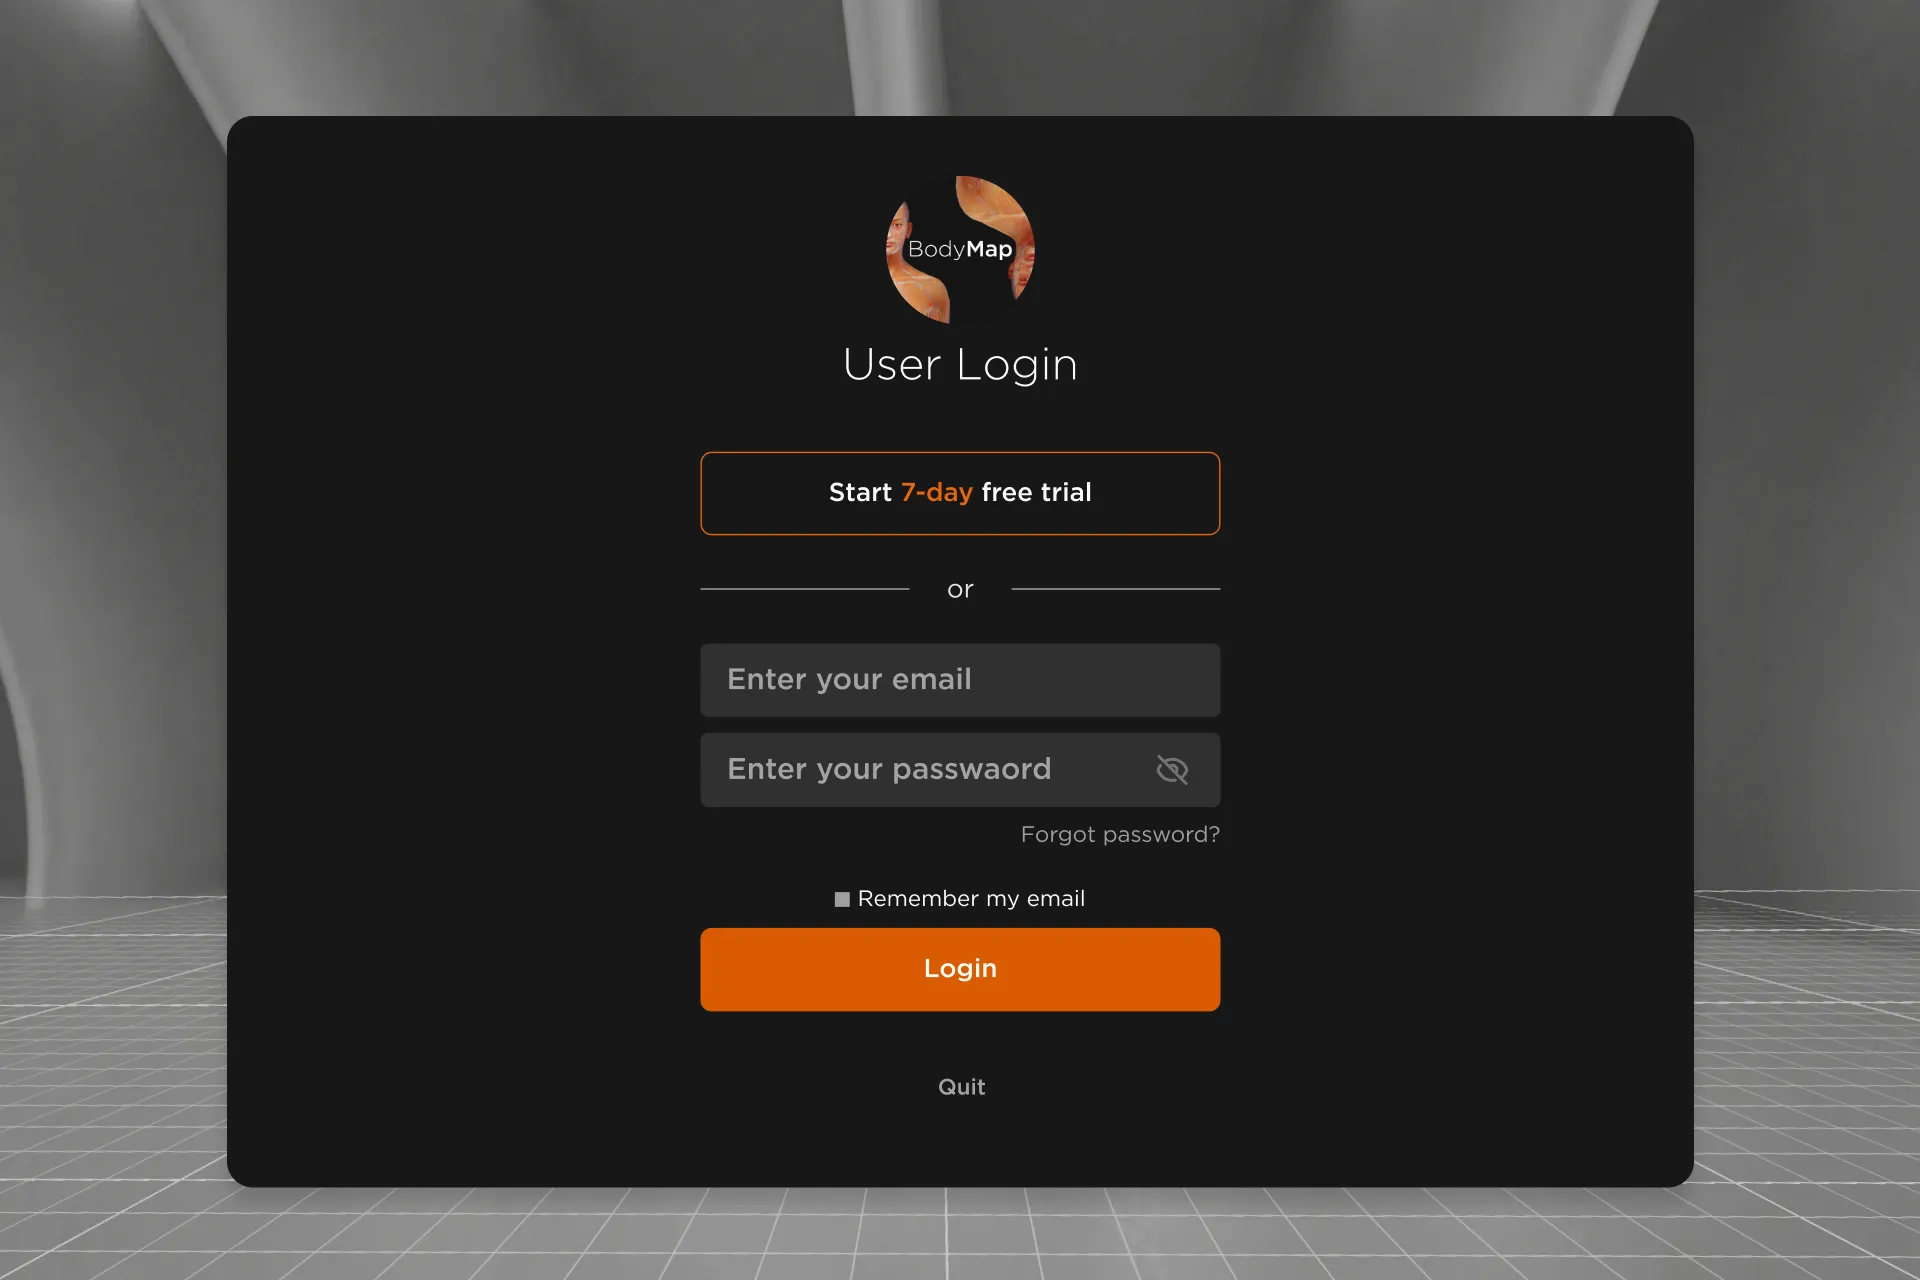
Step 4: In the login screen, select Start 7-day free trial button
Step 5: You will automatically start your 7-day free trial of AcuMap
If you’re logging into AcuMap during free trial:
Step 1: Put on your headset, and open the Universal Menu
Step 2: Select Apps Library (9-dot icon) in the Universal Menu
Step 3: Select AcuMap from your list of apps to launch
Step 4: In the login screen, select Log in with free trial button
Step 5: You will automatically continue your free trial of AcuMap
🔔Reminder:
The “X days left of free trial” message in the upper-right of Lobby shows how many days are left in your free trial period.
For VIVE Focus 3
Step 1: Go to Free Trial page of MAI website
Step 2: Fill out the form, and click on Send button
Step 3: You will receive a Create Your Account email. Click on the link in the email to create your AcuMap account
Step 4: Once you’ve set up your AcuMap account, put on your headset
Step 5: Launch AcuMap, and log in with your AcuMap username and password
📖 Note: If you have not yet installed AcuMap in your Focus 3 headset, please refer to the installation steps above.
For PICO 4
Step 1: Go to Free Trial page of MAI website
Step 2: Fill out the form, and click on Send button
Step 3: You will receive a Create Your Account email. Click on the link in the email to create your AcuMap account
Step 4: Once you’ve set up your AcuMap account, put on your headset
Step 5: Launch AcuMap, and log in with your AcuMap username and password
📖 Note: If you have not yet installed AcuMap in your PICO 4 headset, please refer to the installation steps above.
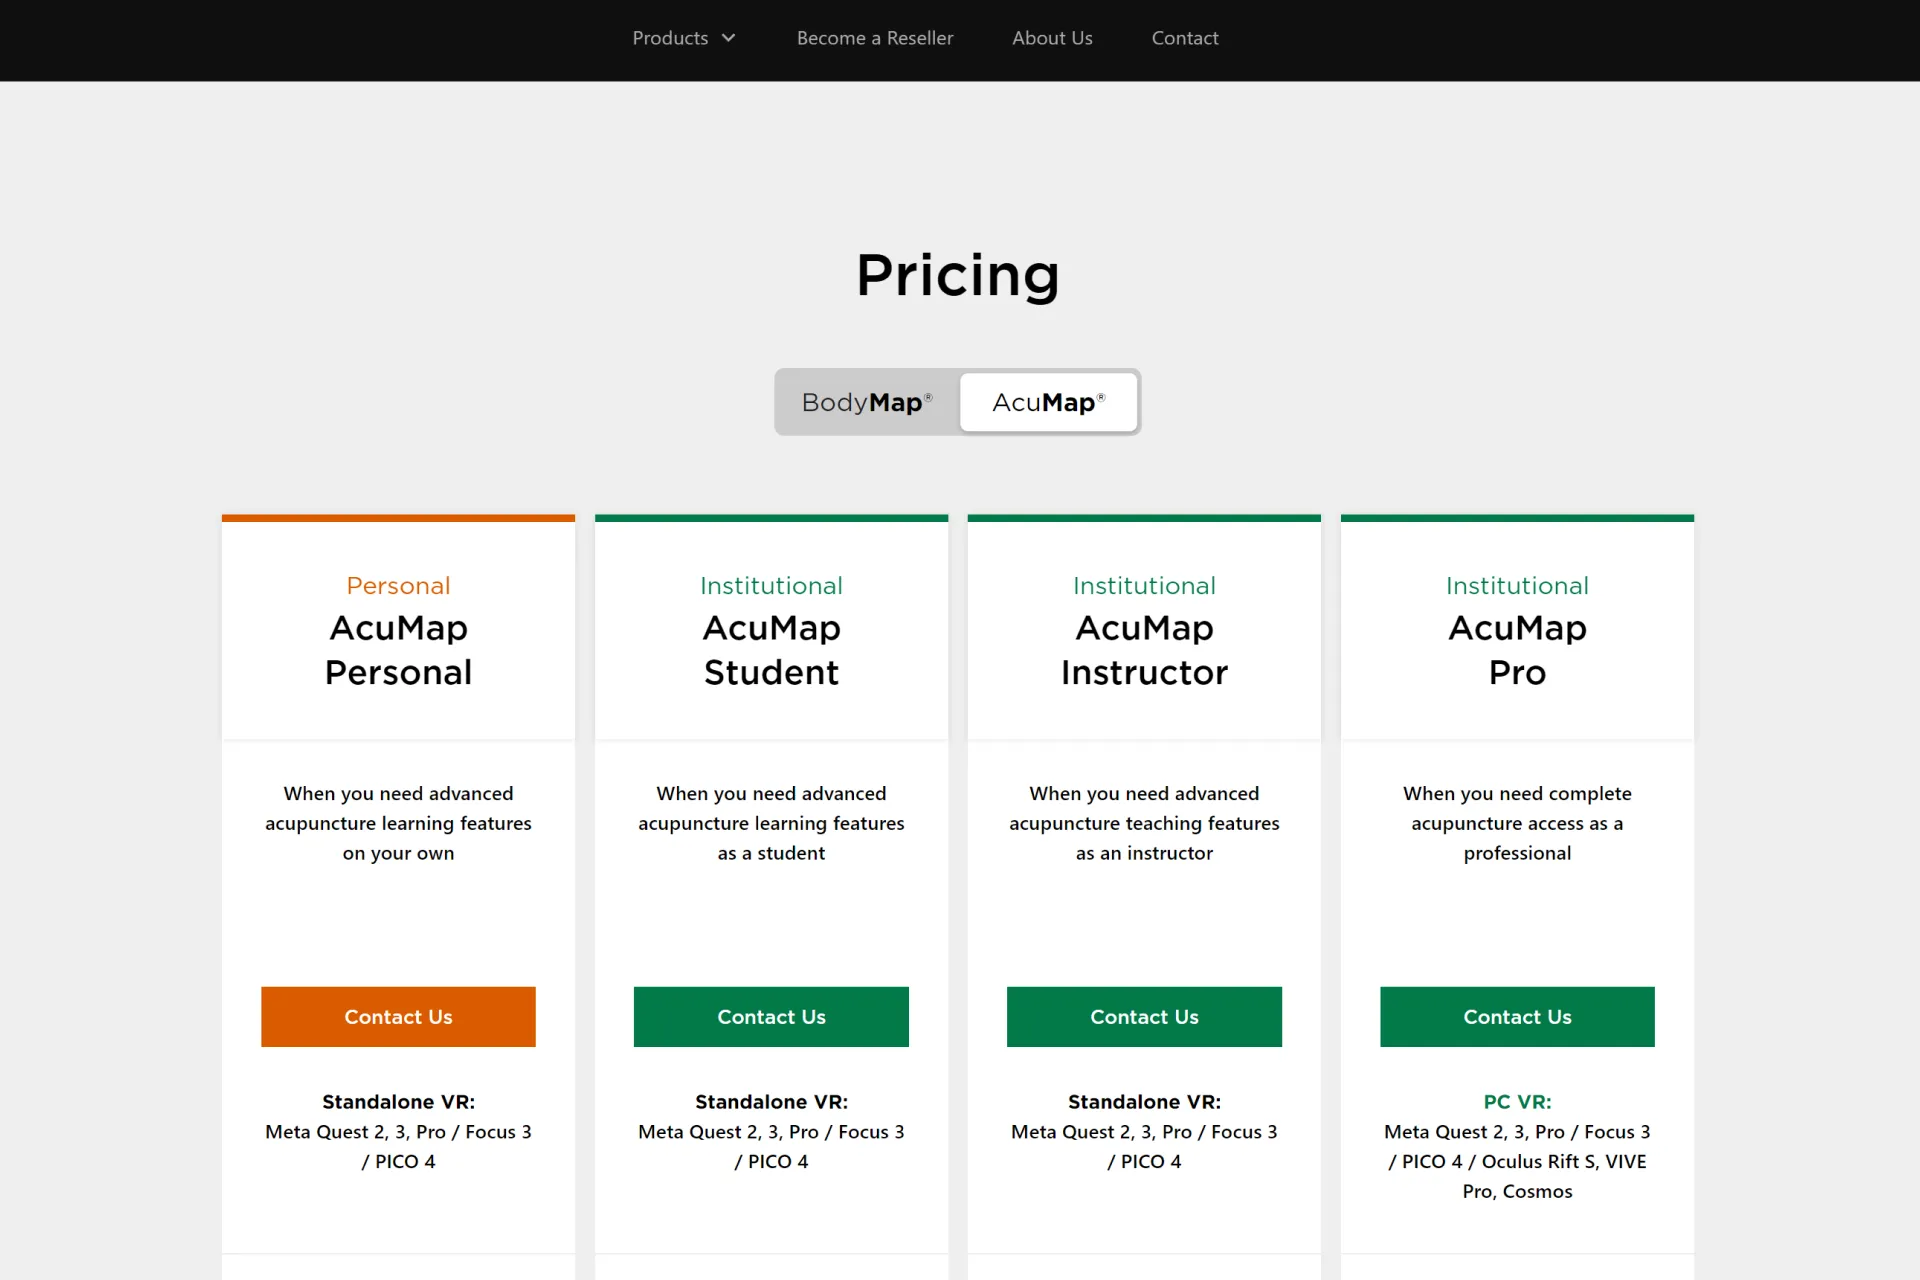
[fs-toc-h2]Subscribe AcuMap
We offer 4 different product for you to master the meridians and acupoints. please contact us for further details.
AcuMap Tutorials
Learn how to navigate the 3D model and conduct simulation to master meridians and acupoints—all in one place.


The Benefits of Acupuncture for Pain Relief

The Importance of Regular Exercise for Mental Health
The Benefits of Meditation for Stress Reduction
The Importance of a Balanced Diet for Overall Health
The Benefits of Yoga for Mind and Body
The Benefits of Meditation for Stress Reduction